


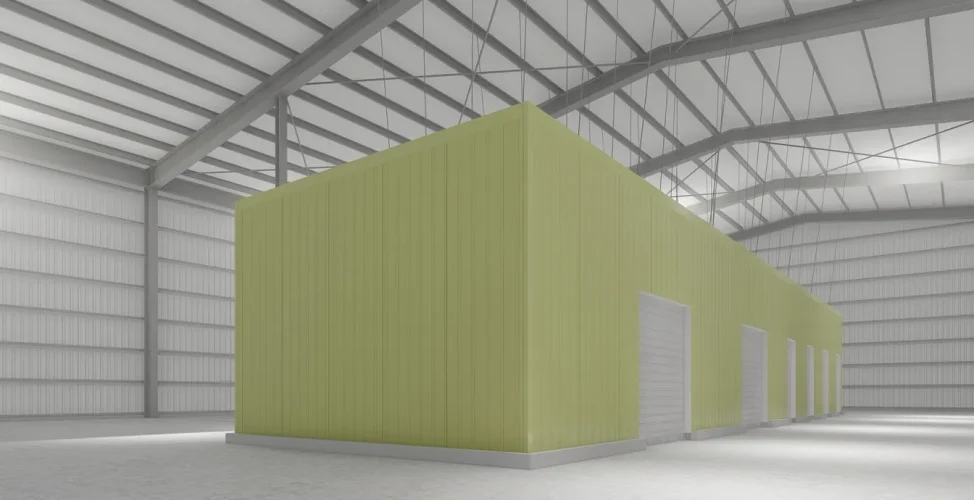
A cold room only performs as well as its envelope. Get the insulation wrong — the wrong material, the wrong thickness, a gap at a joint — and the compressor spends the rest of its life fighting a losing battle against heat gain. This guide walks through material selection, thickness calculation, and the actual installation sequence for walls, ceilings, and floors, plus the mistakes that quietly eat into efficiency long after the room is commissioned.
Types of Insulation Materials for Cold Rooms
Four materials dominate cold room construction, and each one earns its place for a different reason rather than being simply “better” or “worse.”
For Cold Storage Design consultation, call us at .
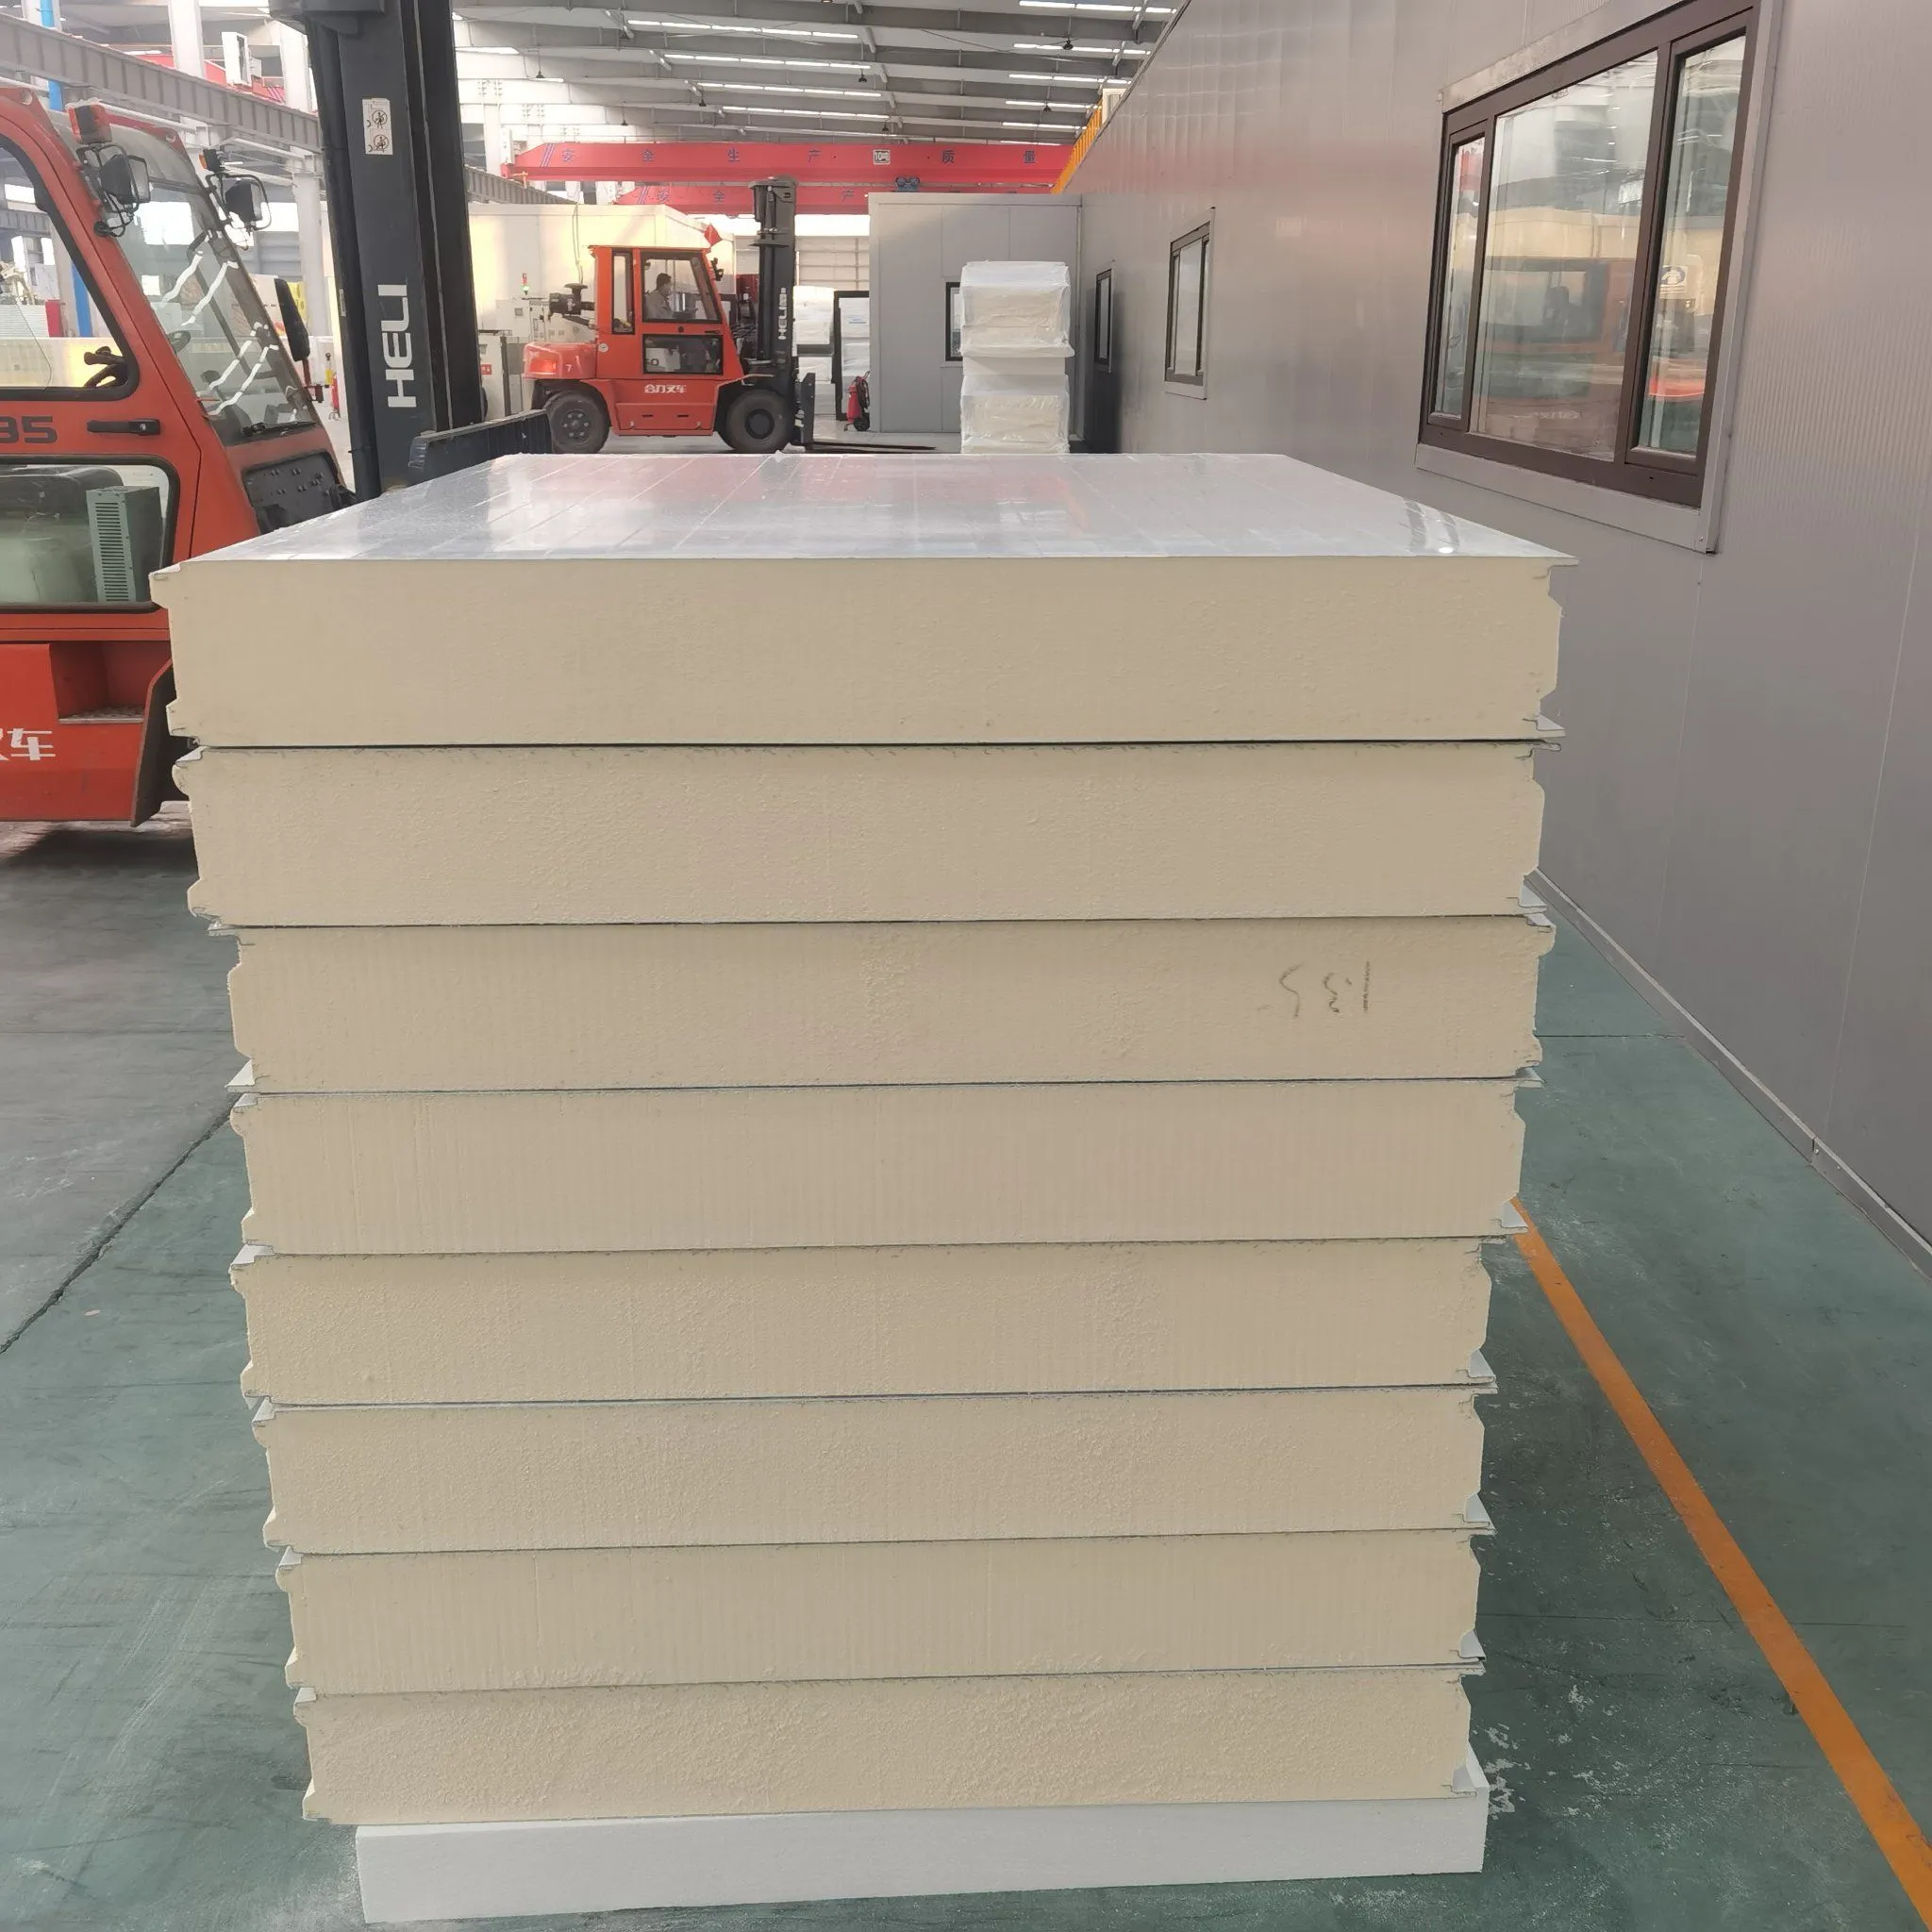
Polyurethane (PUR) is the default choice for prefabricated panels. Its closed-cell structure gives it the lowest thermal conductivity of the common options, which means you get more insulating value out of less material — a real advantage when floor space or ceiling height is limited. Most standard cold storage panels on the market are PUR-cored, typically in the 80–200 mm range depending on the target temperature.
Polyisocyanurate (PIR) performs almost identically to PUR thermally but handles fire exposure better, since it chars rather than melts. It costs more, so it tends to show up in facilities where fire code is strict — near loading docks, in multi-story buildings, or where local regulations demand a higher fire rating.
Expanded polystyrene (EPS) is the budget option. It insulates less efficiently per millimeter than PUR or PIR, so you need noticeably thicker panels to hit the same performance. It’s also more prone to moisture absorption if the vapor barrier isn’t sealed properly, which degrades its R-value over time. Where it does hold its own is floor insulation under a concrete slab, where compressive strength matters more than thinness.
Mineral wool (rock wool) isn’t a common panel core for cold rooms, but it shows up around penetrations, near heat sources, and anywhere fire separation is non-negotiable. It’s heavier and less moisture-tolerant than the foam options, so it needs careful vapor barrier detailing wherever it’s used.
| Material | Thermal Performance | Fire Resistance | Typical Use |
| PUR | Excellent | Moderate | Standard wall/ceiling panels |
| PIR | Excellent | High | Fire-code-sensitive areas |
| EPS | Moderate | Low | Budget builds, floor slabs |
| Rock wool | Good | Very high | Fire barriers, penetrations |
How to Calculate the Right Insulation Thickness
Thickness isn’t a guess — it’s a calculation built around the temperature gap the panel has to hold back and the thermal conductivity (λ, lambda) of the material.
The working formula is:
Required thickness (m) = λ (W/m·K) ÷ target U-value (W/m²·K)
Start with the delta-T: the difference between the coldest ambient temperature the room will face (say, 40°C in a Gulf summer) and the target internal temperature. A chiller room might hold +2°C, a standard freezer -18°C, and a deep-freeze or blast room as low as -30°C to -40°C.
As a practical rule of thumb for PUR panels:
- Chiller rooms (0°C to +5°C): 80–100 mm
- Standard freezers (-18°C to -25°C): 120–150 mm
- Deep-freeze / blast freezing (below -30°C): 150–200 mm
These numbers shift with local climate, panel quality, and how tightly the room needs to hold temperature under door-opening load. In hot climates, it’s worth erring toward the thicker end rather than the manufacturer’s minimum spec — the cost difference over a panel’s lifespan is small compared to what’s lost in extra compressor runtime.
Step-by-Step Guide to Insulating Walls and Ceilings
- Prepare the structural frame:
Panels need a level, plumb frame to sit against — a floor track and a top track that are out of alignment by even a few millimeters will telegraph into every joint above it.
- Set the wall panels first, working from a corner:
Standard cold room equipment and panels use a cam-lock (hook-and-eye) joint system: each panel slots into the next and the internal cams pull the joint tight from inside. Work in one continuous direction so you’re not fighting the lock mechanism halfway through.
- Seal every joint, not just the visible ones:
Even a cam-locked joint benefits from a bead of polyurethane sealant along the interior seam. This is where most heat leakage and condensation problems actually originate — not through the panel face, but through the seams.
- Install the ceiling panels on a load-bearing suspension frame:
never resting directly on the wall panels’ top edge unless the panel system is rated for it. Ceiling panels carry their own weight plus any equipment load (evaporators, lighting), so the support structure has to be sized for that separately from the wall insulation.
- Run the vapor barrier on the warm side:
This step gets skipped more often than it should. The vapor barrier — usually a foil or polyethylene layer — has to sit on the side facing the warmer, more humid air. Get the orientation backward and moisture gets trapped inside the panel core instead of staying out.
- Pressure-test the room before final commissioning:
A basic smoke-pencil or soap-solution check at every seam and penetration point catches leaks before they show up as ice buildup or a compressor that never seems to reach setpoint.
Insulating the Floor: Preventing Ground Heat Transfer
Floor insulation gets treated as an afterthought more often than any other part of a cold room, and it’s usually the part that causes the most expensive problems later.
The ground under a freezer room is a constant heat source pushing upward, and below about -5°C, that heat exchange creates a second risk beyond energy loss: frost heave. Moisture in the soil beneath the slab freezes, expands, and slowly lifts the floor — cracking the slab and the insulation above it over months or years.
The floor build-up, from the ground up, typically looks like this:
- Compacted sub-base — a stable, well-drained foundation.
- Load-bearing insulation — usually extruded polystyrene (XPS) or a high-density PUR floor panel, chosen specifically for compressive strength rather than pure thermal performance, since it has to carry racking, pallet jacks, and forklift traffic.
- Vapor barrier, placed beneath the concrete topping slab, not above it.
- For deep-freeze rooms below roughly -20°C: an anti-frost heave system — either heating cables or a ventilated air gap beneath the insulation — to keep the ground temperature above freezing and stop the heave cycle before it starts.
- Concrete topping slab, reinforced and sloped slightly toward drains where wash-down is part of the operation.
Skipping the anti-frost heave layer is the single most common floor mistake in deep-freeze construction — it’s invisible for the first year or two, then shows up as a slowly cracking, uneven floor that’s expensive to fix retroactively.
Find Out More: UAE Cold Storage Standards
Common Insulation Mistakes That Reduce Cold Room Efficiency
Thermal bridging at the frame:
Metal structural members that pass through the insulation layer — door frames, support brackets, corner posts — conduct heat straight through if they’re not thermally broken. A well-insulated panel next to an unbroken steel frame still loses significant energy at that one contact line.
Sealing the panel face but ignoring the joints
As covered above, joints are where the real leakage happens. A facility can have thick, high-quality panels and still underperform badly if the seams weren’t sealed with the same care.
Reversing the vapor barrier orientation
This is a quiet failure — the room seems to work fine for months, then panels start showing internal moisture damage, delamination, or a musty smell as trapped condensation slowly saturates the core.
Using one thickness spec across rooms with different temperature targets
A chiller and a deep-freeze room in the same facility don’t need — and shouldn’t get — identical panel thickness. Applying a single generic spec either wastes money on the chiller or underinsulates the freezer.
Undersized or missing door protection
Strip curtains, air curtains, or a properly sealed door gasket matter almost as much as the wall panels themselves, since door openings are where the bulk of daily heat infiltration actually happens.
Skipping the thickness calculation and defaulting to “what’s normally used.” Local climate, door traffic, and product load all shift the real thermal requirement. A spec that worked for a facility in a mild climate can be genuinely undersized somewhere with a 45°C summer.
For consultation, call us at .
Frequently Asked Questions
What is the best insulation material for a cold room?
Polyurethane (PUR) panels are the standard choice for most cold rooms because they deliver the best thermal performance per millimeter of thickness. PIR is worth the extra cost where fire rating is a code requirement, and EPS remains common in budget builds and floor applications.
How thick should cold room insulation be?
It depends on the target temperature and local climate, but as a general guide: 80–100 mm for chiller rooms (0°C to +5°C), 120–150 mm for standard freezers (-18°C to -25°C), and 150–200 mm for deep-freeze or blast rooms below -30°C.
Do cold room floors need insulation?
Yes — and for freezer rooms below roughly -5°C to -20°C, floor insulation needs to include an anti-frost heave solution (heating cables or a ventilated air gap), or the ground beneath the slab will freeze, expand, and eventually crack the floor.
Which side does the vapor barrier go on?
The vapor barrier goes on the warm side of the insulation — the side facing the ambient, more humid air. Installing it on the cold side traps moisture inside the panel instead of keeping it out.
Can I insulate an existing room instead of building a new one?
Yes, retrofitting is common — existing walls can be lined with insulated panels, though thermal bridging at the original structure and floor-to-wall junctions needs extra attention since retrofits rarely start from a clean structural frame.


No Comments
Sorry, the comment form is closed at this time.